





The company details entered under Subscription Settings > Billing Profile > Tax Details make up your billing profile, which determines the company name, address and tax numbers that are used for e-invoices and appear on your invoices.
If you created several companies under the same user login email, the same tax and credit card details will be automatically filled in for all your companies once you enter them for 1 company. If you want to enter different tax and credit card details for your different companies created under the same user login, you will need to enable and create multiple billing profiles.
Enable multiple billing profiles
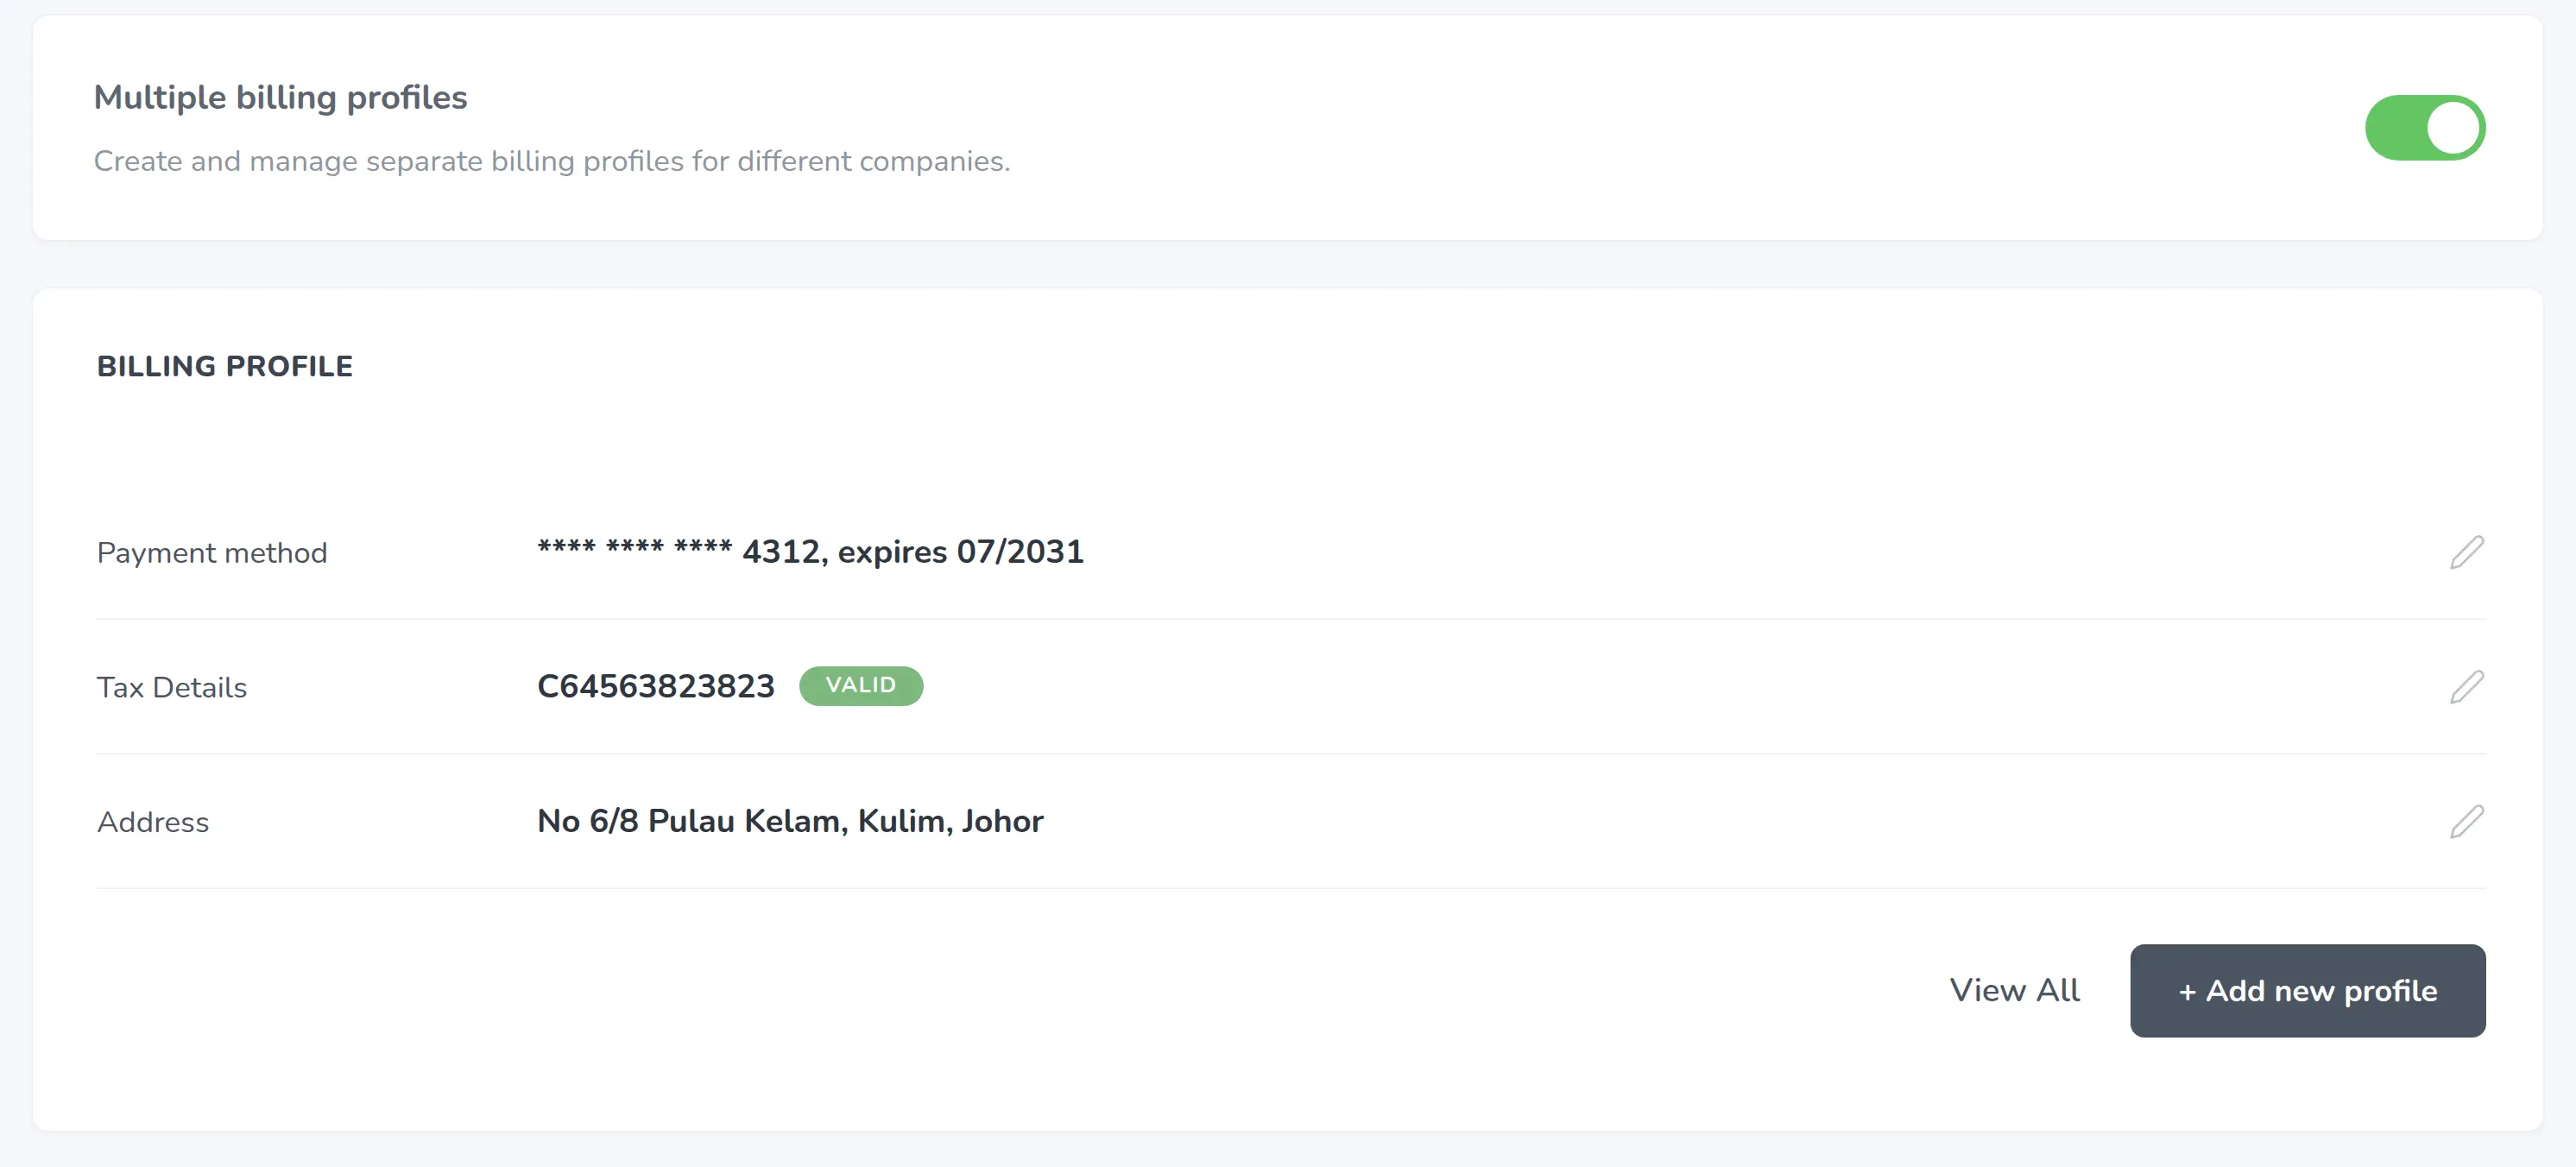
Log in to the company account for which you want to create a different billing profile and go to Settings > Subscription Settings to enable multiple billing profiles.

Under your Subscription Settings, click on + Add new profile and enter the tax details relevant to that company.
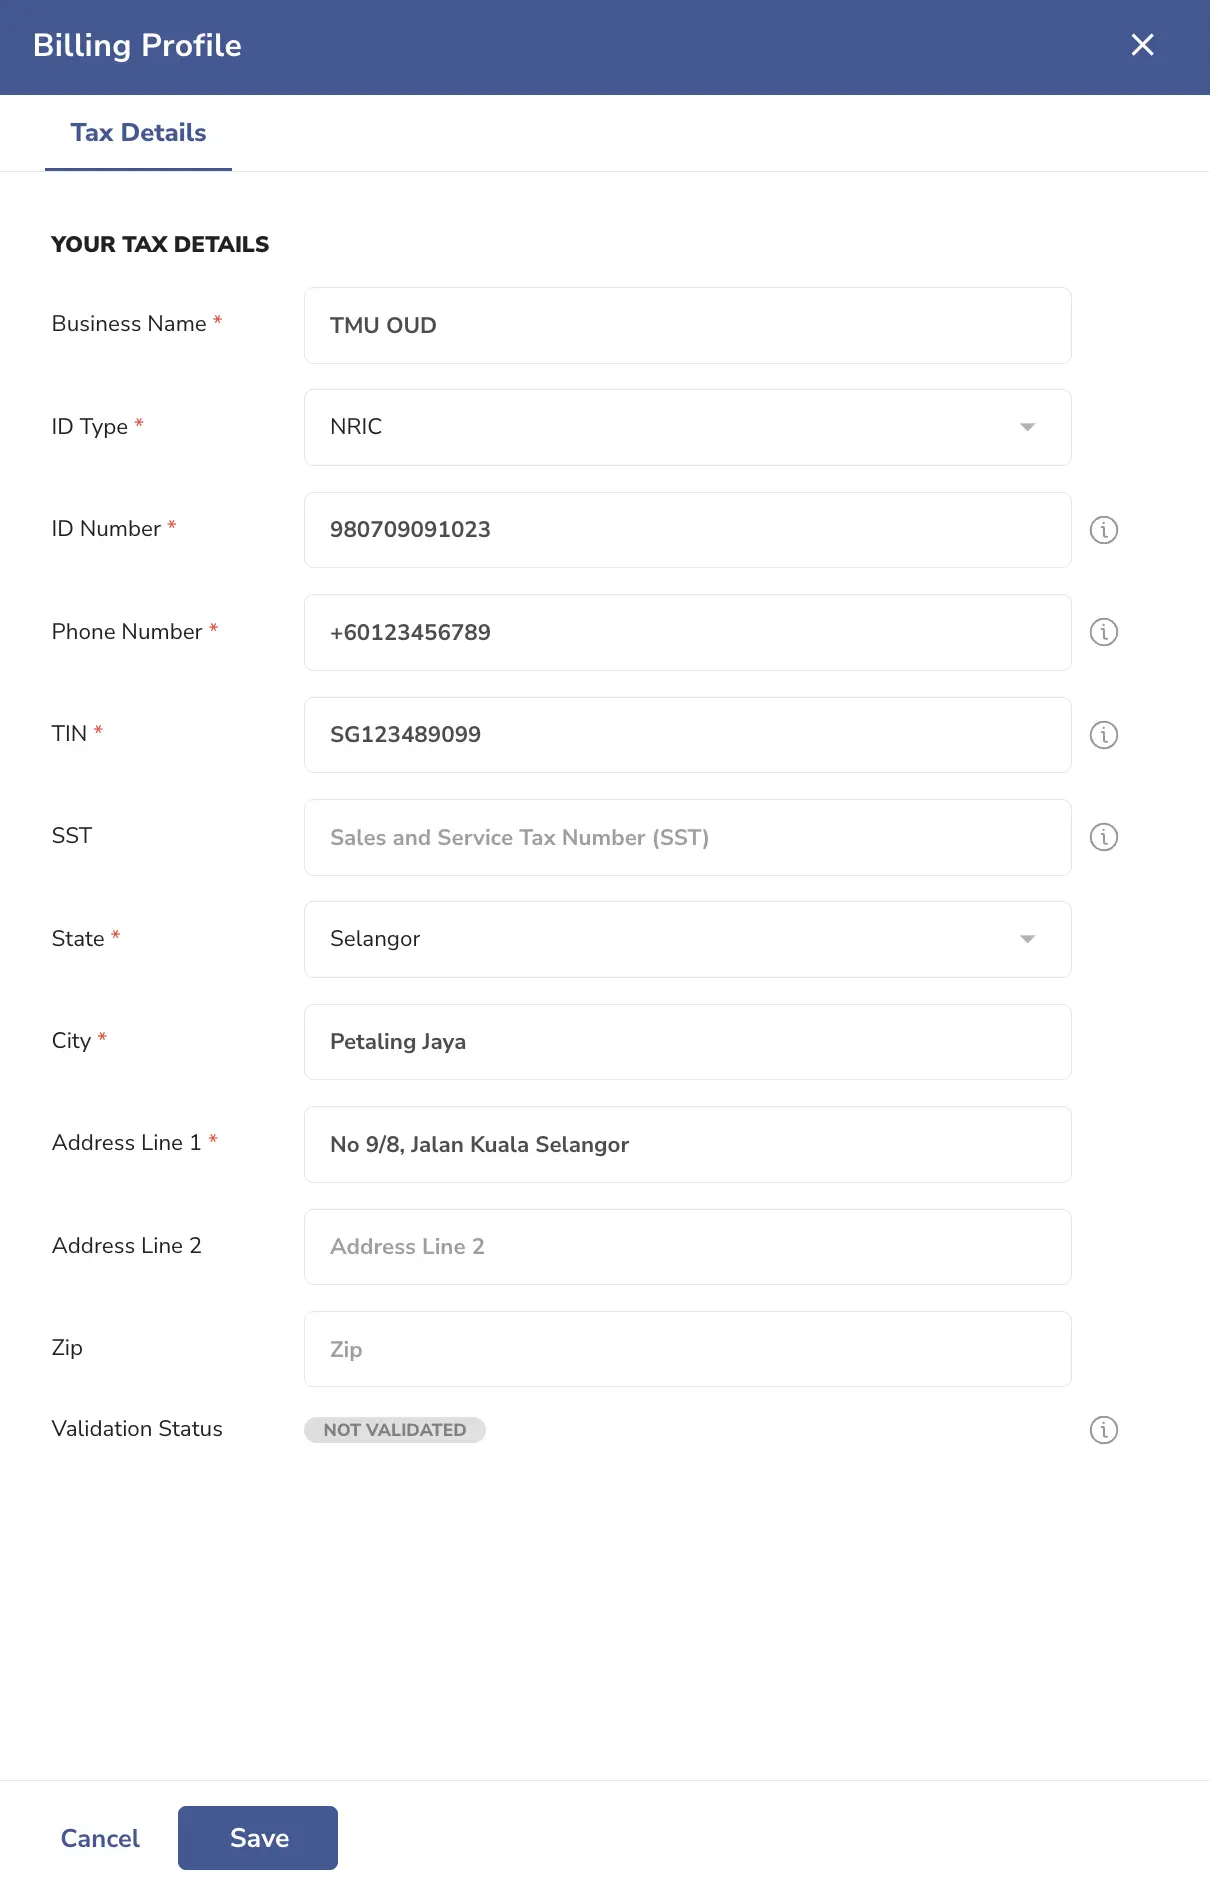
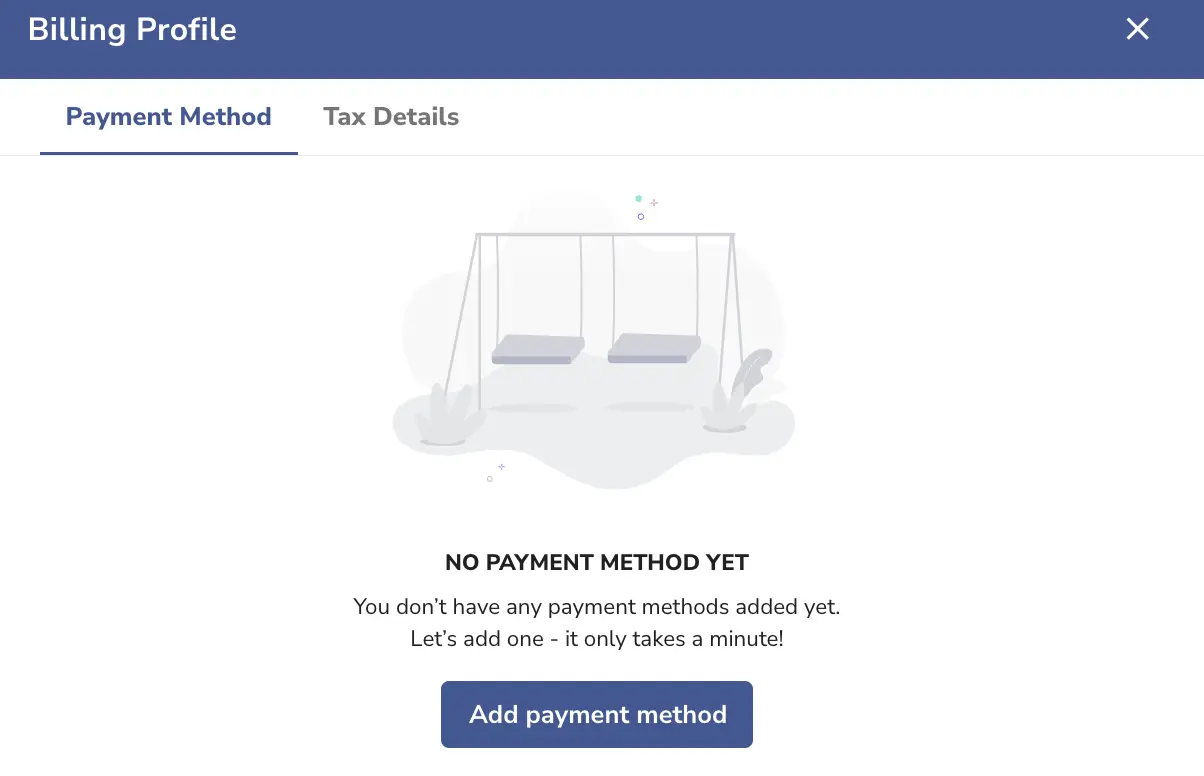
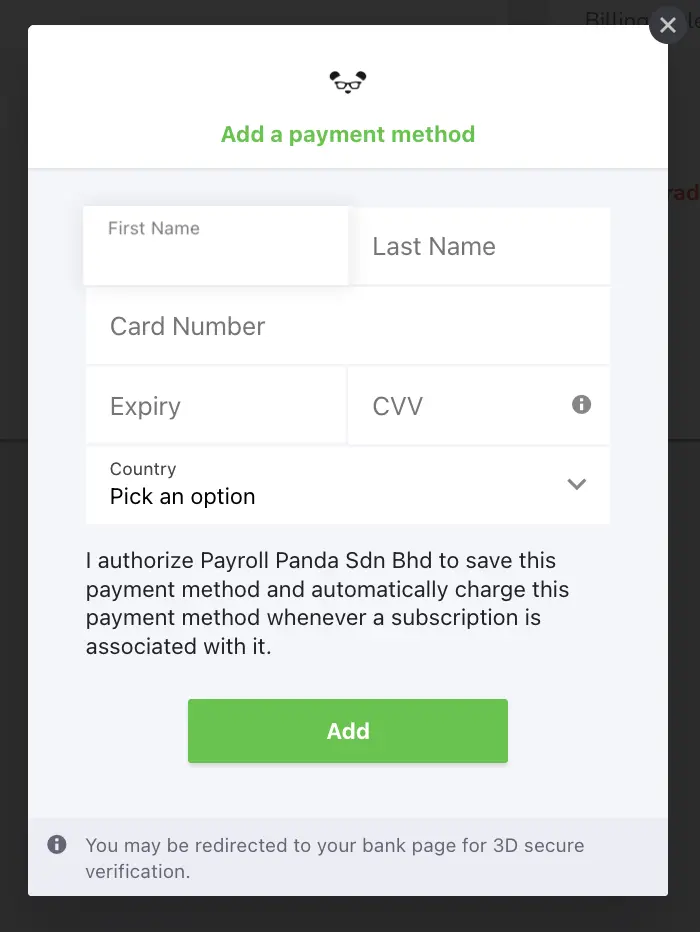
Once you have clicked Save, you will be automatically directed to the Payment Method section. You can click on Add payment method if you would like to add a credit card for the relevant company.
Assign the billing profile
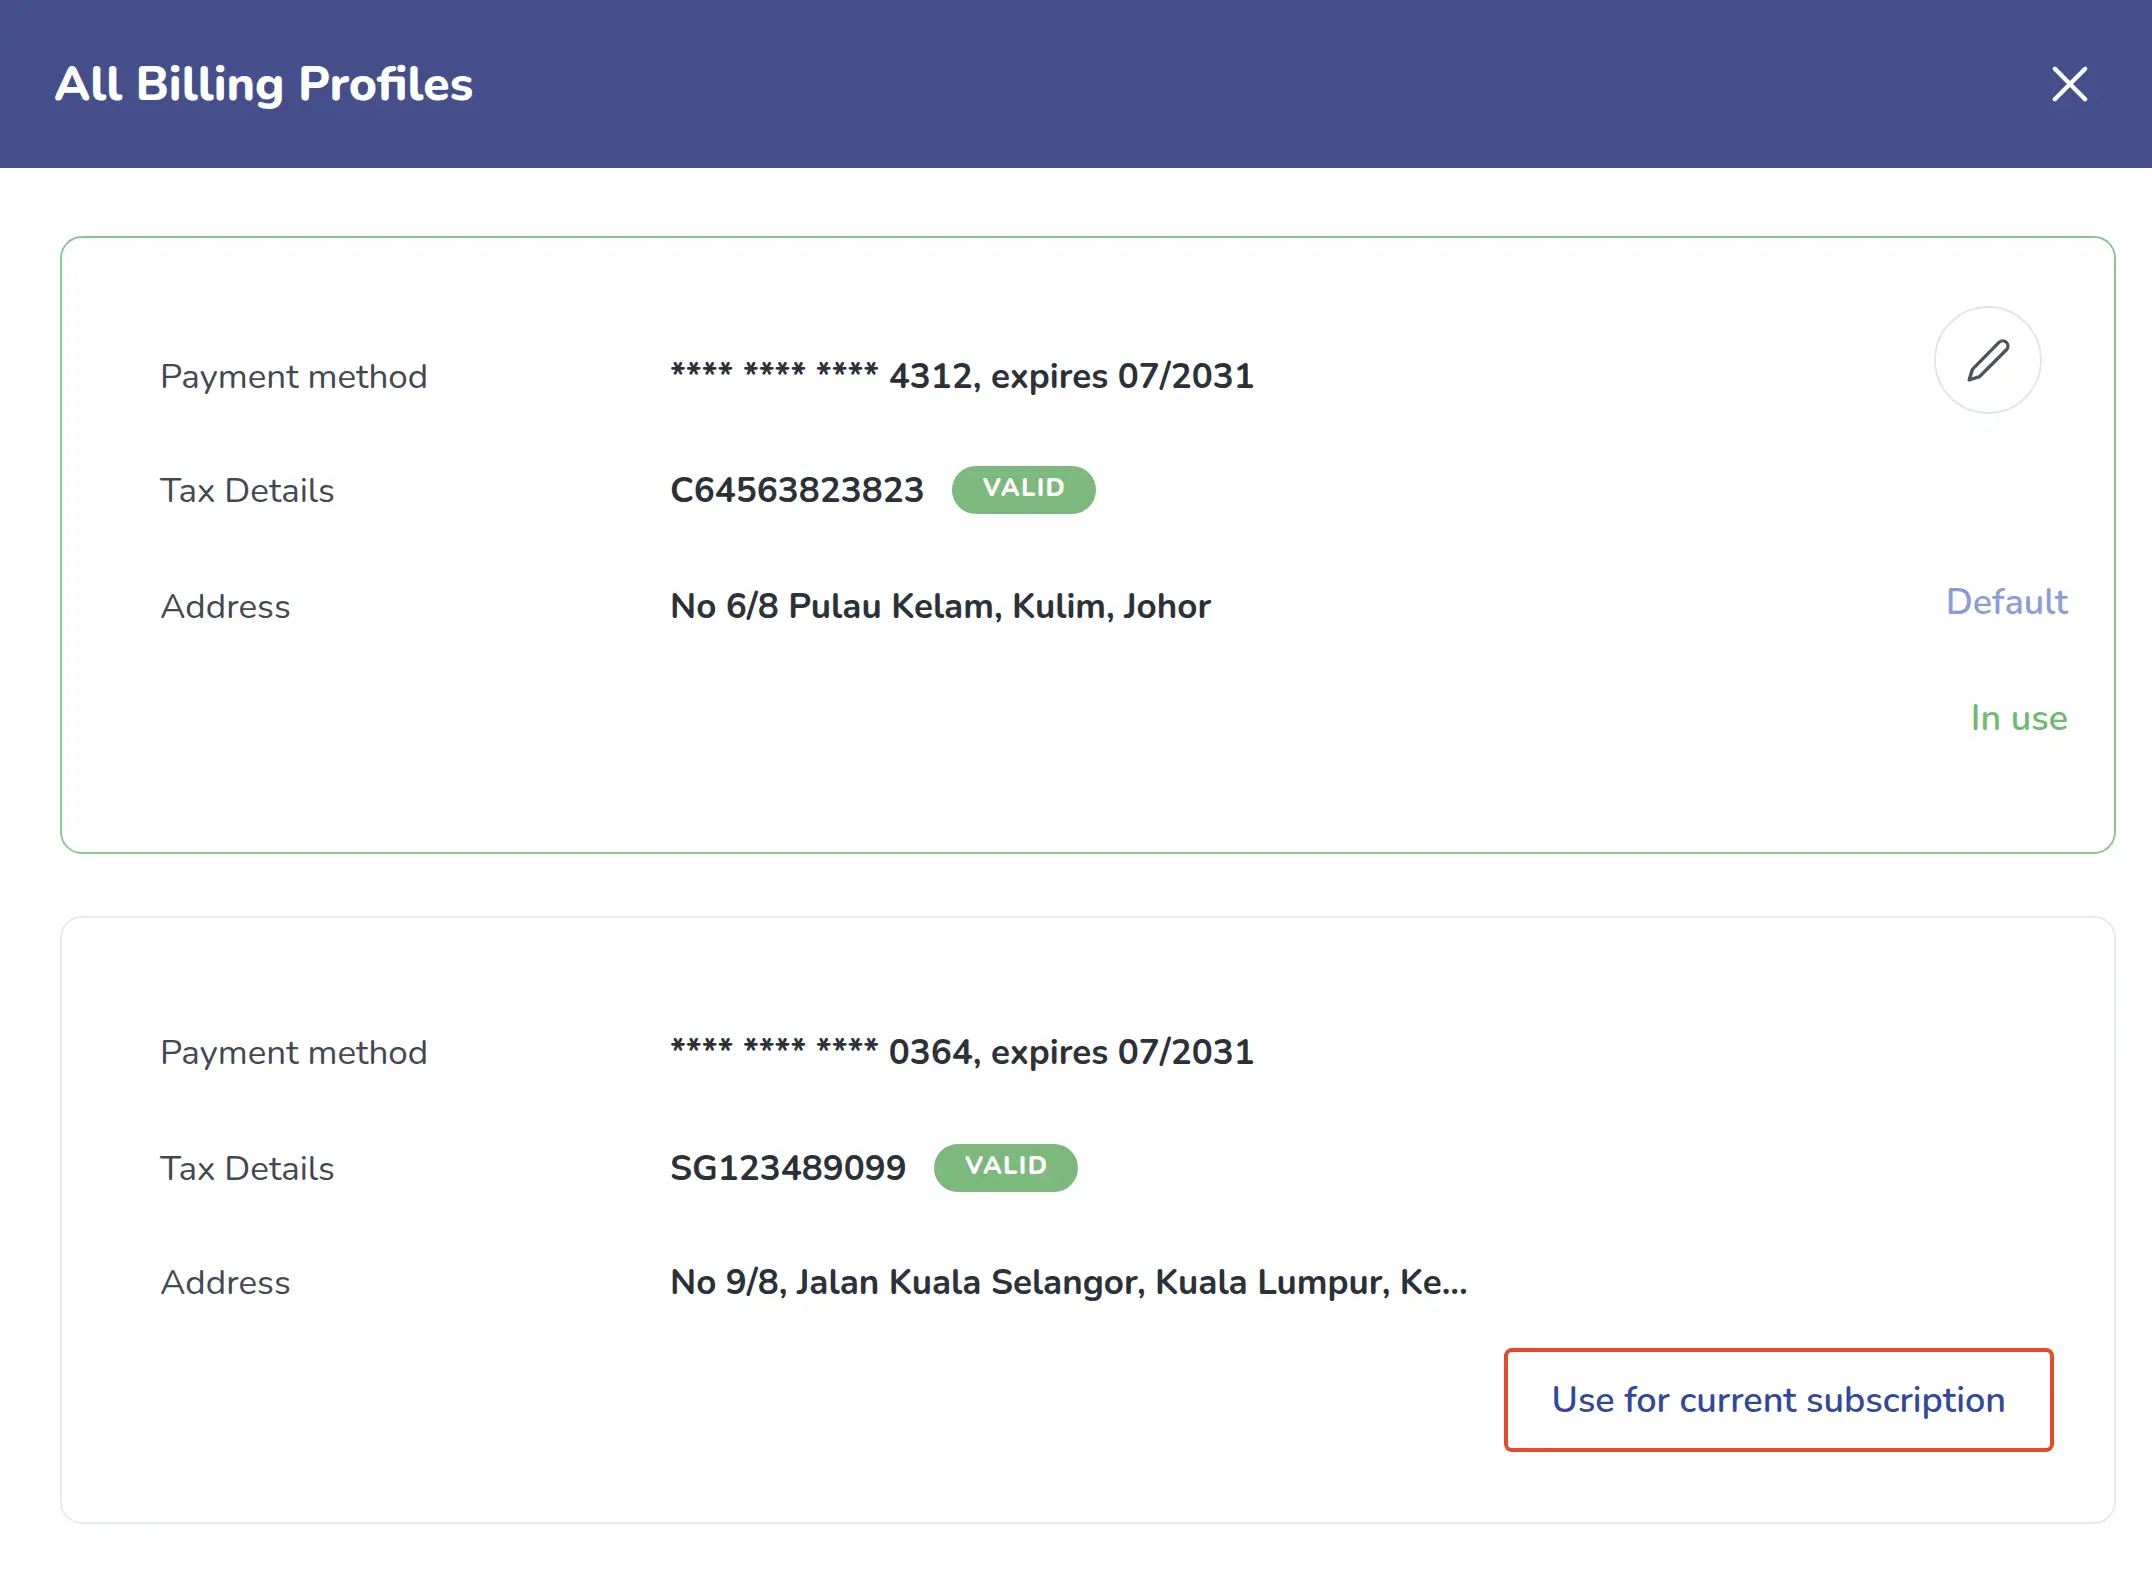
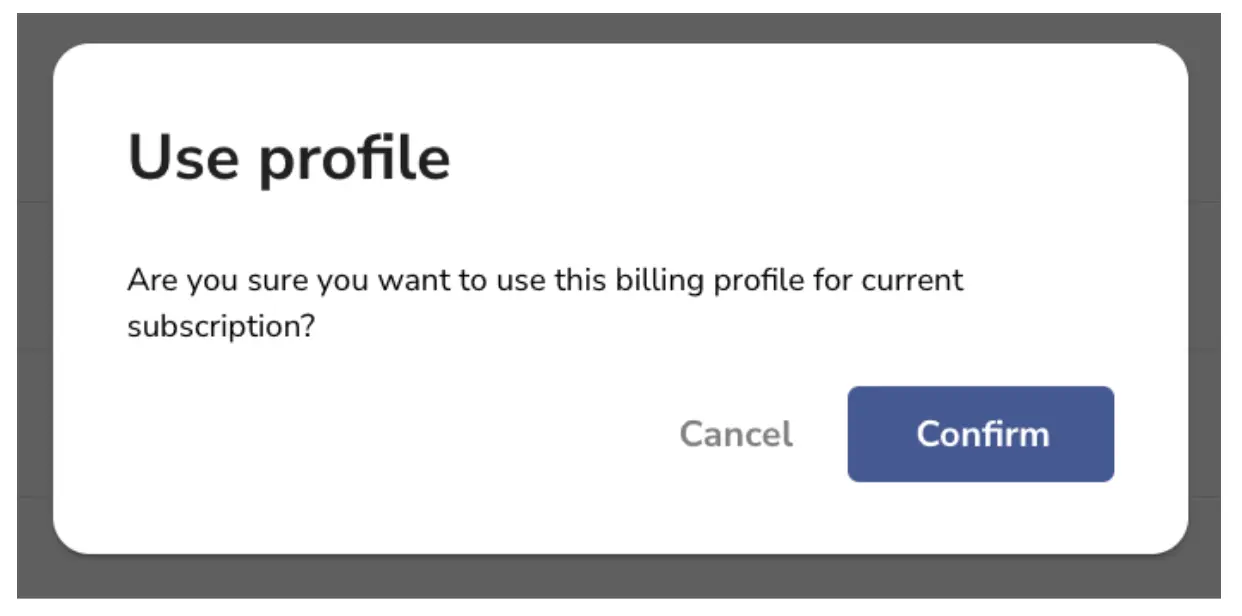
After creating the new billing profile, you should assign it to the company by selecting Use for current subscription under View All and clicking Confirm to proceed.
For any new company created under your user login, you can either assign an existing billing profile or create a new one.